
What Is Product Photography, and Why Does It Matter for Online Sellers?
Product photography is the set of images that stand in for the thing a buyer cannot touch. Online, the photo carries the weight that a shop assistant, a shelf and the object itself would normally carry together. Get it wrong and the buyer moves on to a listing that shows them what they need to see. Get it right and the photo does the selling before your description says a word.
The evidence backs this up more strongly than most small sellers assume. Research from Tilburg University found that interactive and contextual product images raise purchase intent online, with the effect strongest on higher-priced products, where buyers feel more uncertainty and lean harder on what the image can tell them. If you sell anything above impulse-buy money, a handmade lamp, a bespoke ring, a framed print, the photo is doing more persuading than you might think.
It also outweighs the format most sellers assume matters more. Among shoppers surveyed on smartphones, 83 percent found product photos very or extremely influential on a purchase decision, against 36 percent who said the same of video. A well lit still photo beats a shaky video clip most of the time, which is good news, because a still photo is the easier thing to get right on your own. For a maker or reseller building a shopfront from nothing, this is worth understanding before spending on a channel and skipping the basics. Our guide for online sellers and makers covers where photography sits alongside the rest of the marketing.
What Equipment Do You Need to Photograph Products at Home?
Very little, and that is the honest answer. A recent phone with a decent camera does the job for almost every small business, because modern phone cameras handle detail and colour well enough that the limiting factor is nearly always light and composition, not the hardware. Buy nothing until you have tried what you already own.
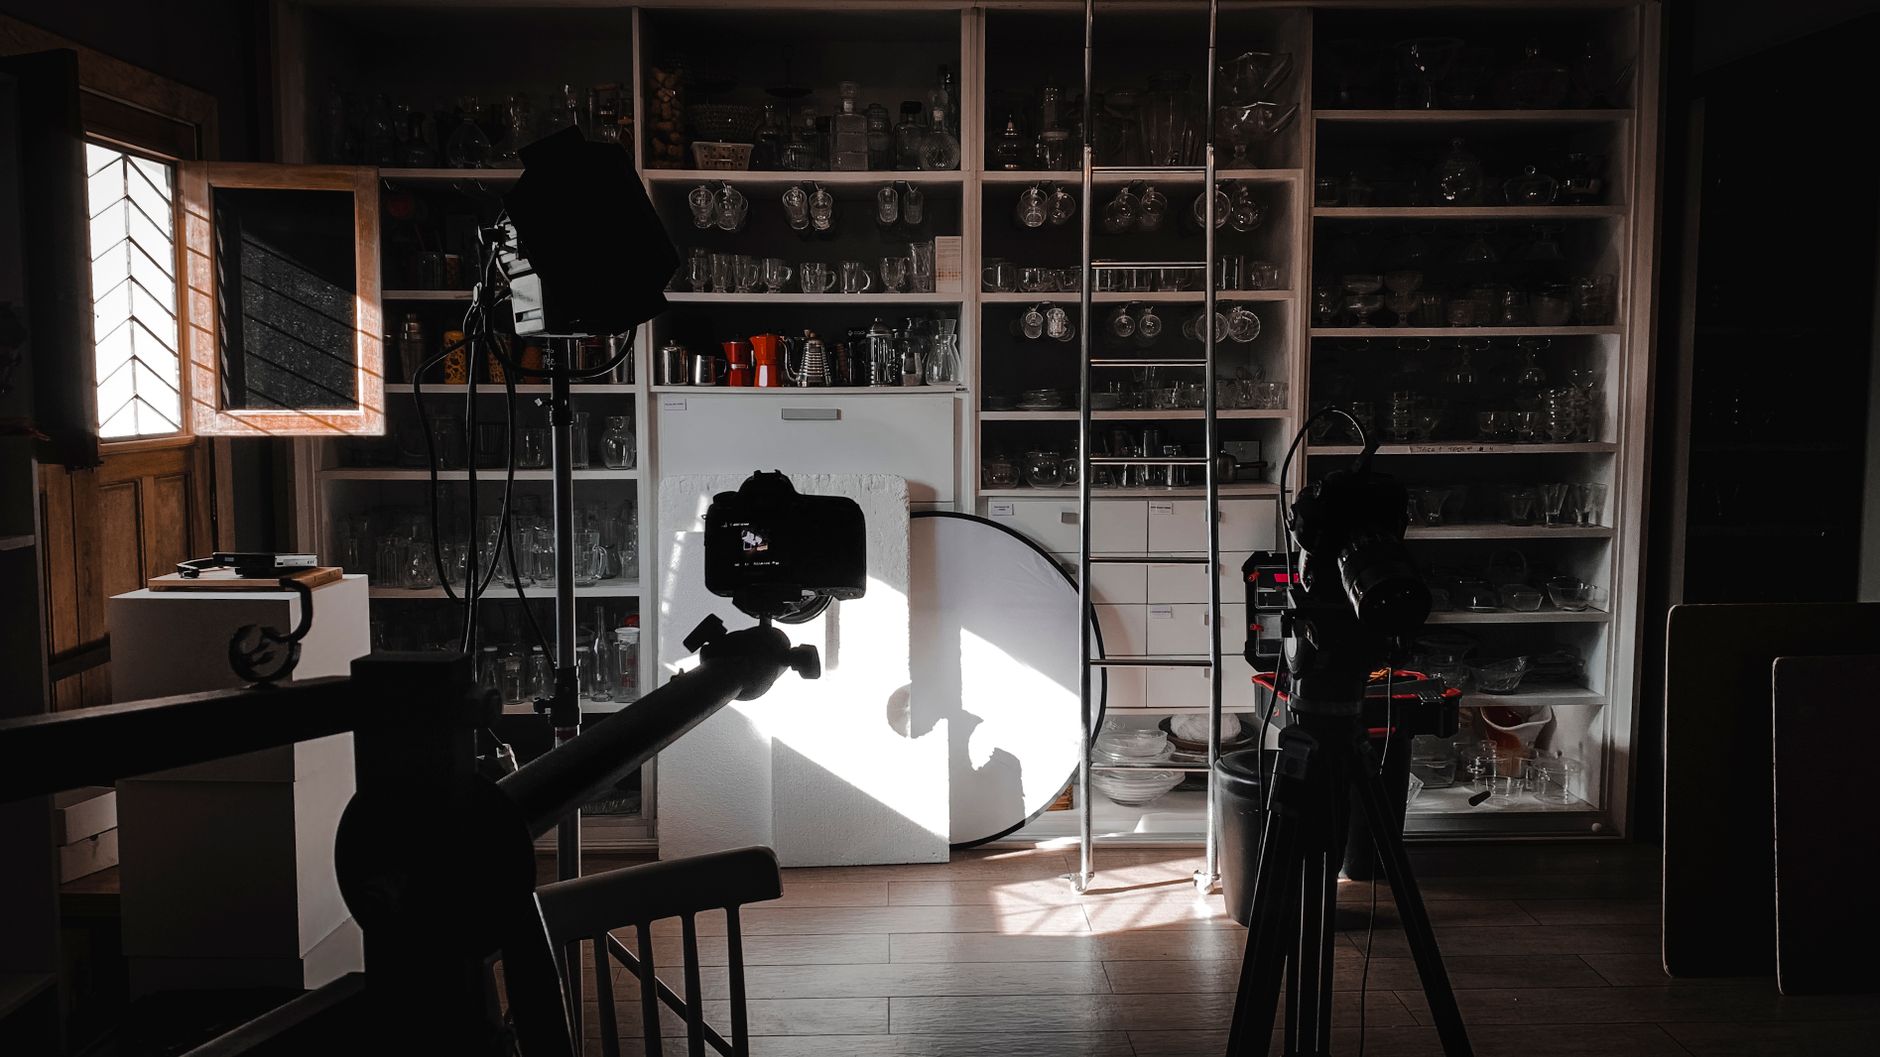
Three cheap additions do more for the result than any camera upgrade. A tripod, even a small tabletop one, removes camera shake and lets you keep the same framing across a whole product range, which matters because consistency is what makes a shop feel like a shop rather than a jumble sale. A plain sheet of white or light grey card, curved gently where it meets the surface, gives you a clean sweep with no visible seam, the same trick studios use at far greater expense. And a couple of cheap reflectors, which can be nothing more than white card or kitchen foil on cardboard, bounce light back into the shadows a single window creates.
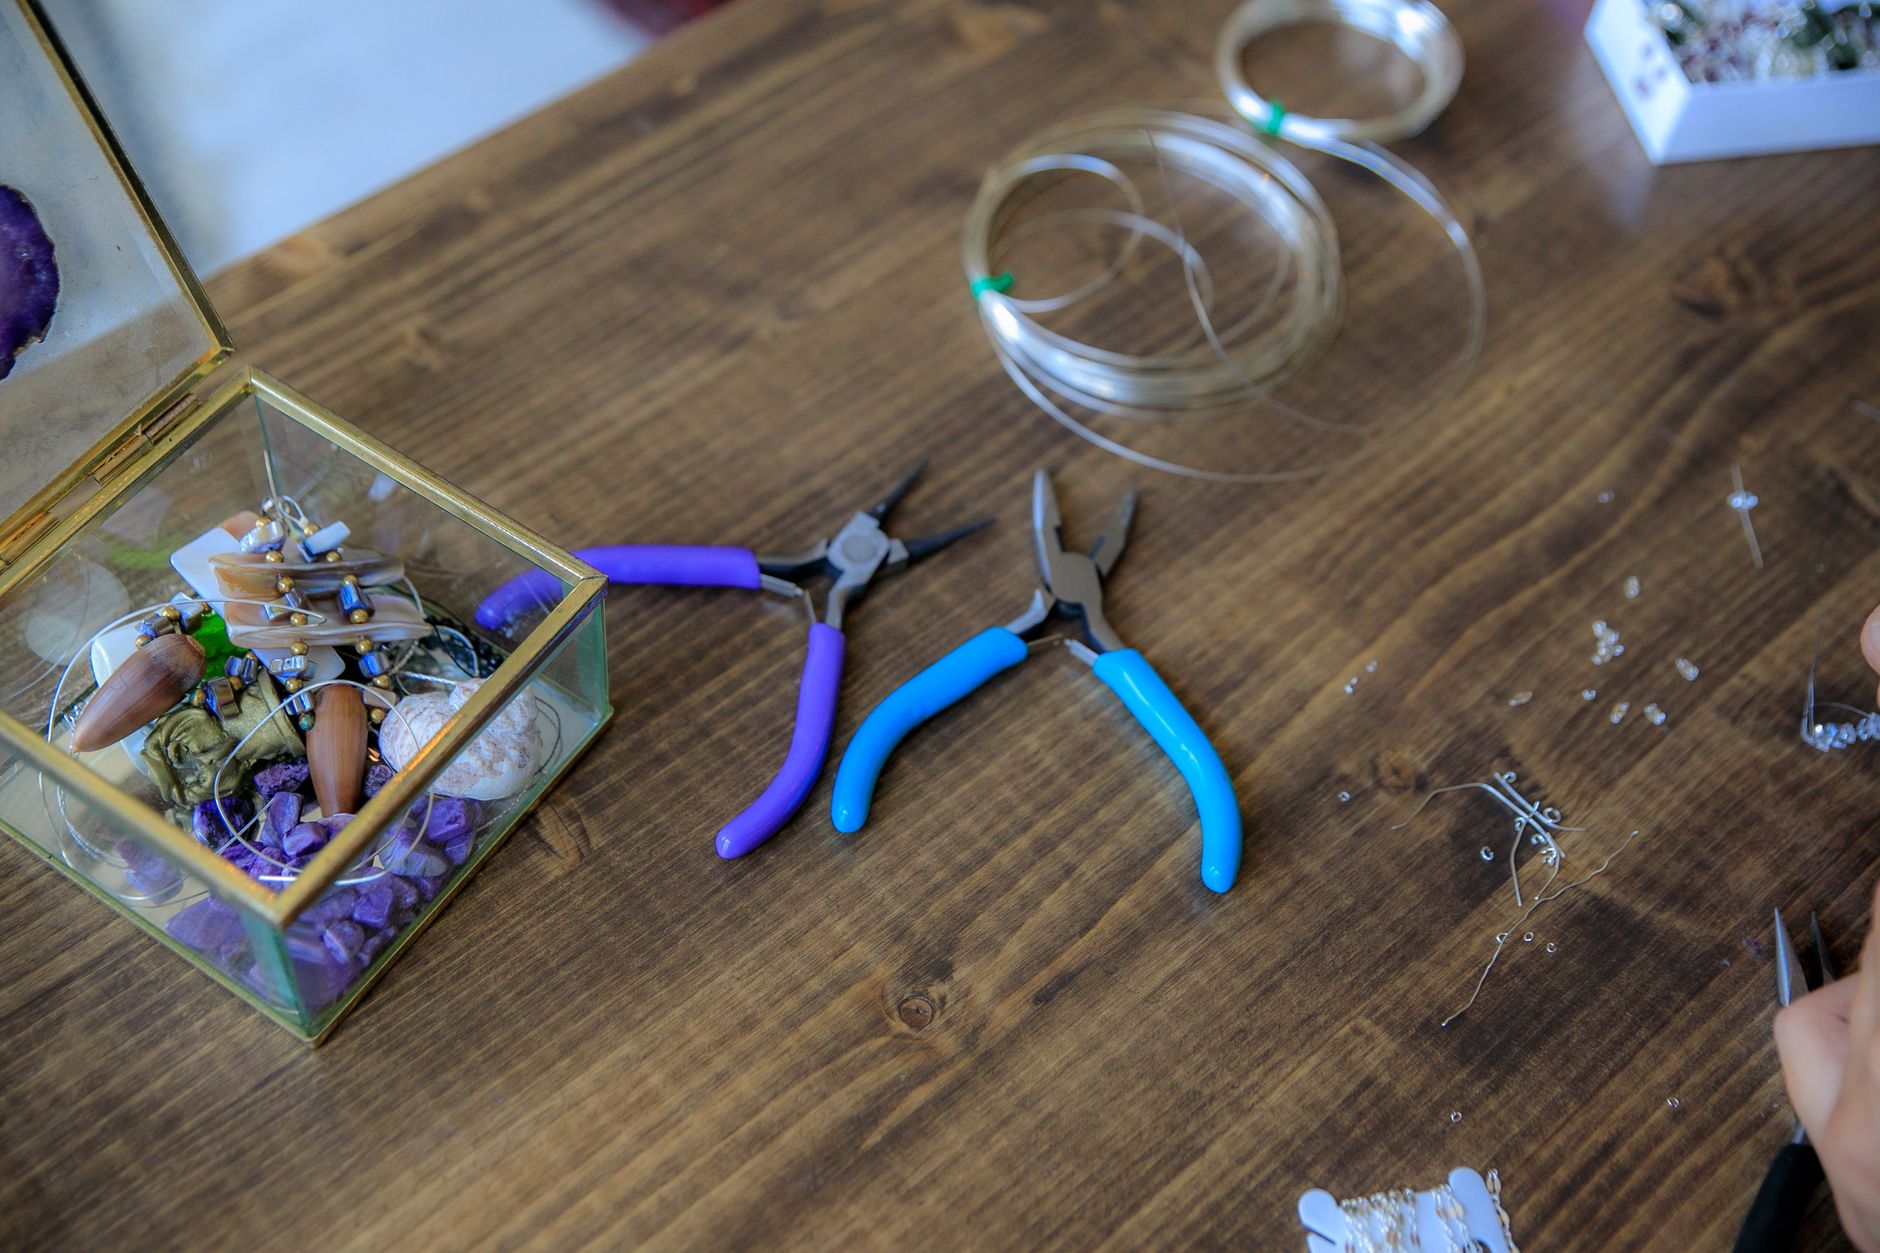
The one thing worth buying if you sell small, detailed items, jewellery, ceramics, prints, is a macro lens attachment for your phone, which costs a few pounds and lets you get close enough to show texture and craft without the image turning soft. Beyond that, hold your budget for marketing rather than kit.
How Do You Light Product Photos Without a Studio?
Light is the one variable that matters more than everything else combined. A brilliant composition photographed in poor light looks worse than a plain composition photographed in good light, every time. The good news is that the best light for product photography is free and sits in most homes already, a window with soft, indirect daylight.
Direct sun through a window creates harsh shadows and blown-out highlights that hide detail. What you want is bright but diffused light, which you get by shooting near a window on an overcast day, or by hanging a thin white curtain or sheet across a sunny window to soften the light before it hits your product. Position the product side-on to the window rather than facing it directly, so the light rakes across the surface and shows texture instead of flattening it.
A simple home set-up looks like this in practice.
- Choose a window that gets bright, indirect daylight for most of the day, and set up your shooting space beside it rather than opposite it.
- Place a plain card sweep on a table so the background curves smoothly with no line where the surface meets the wall.
- Position the product side-on to the window, roughly at a right angle, so the light shows shape and texture rather than washing it flat.
- Prop a white card or reflector on the opposite side to bounce light back into the shadows without a second light source.
- Mount your phone on a tripod at the product's own height rather than looking down on it, then take several shots and check them at full size before moving on.
Once this becomes routine, it takes under ten minutes to set up and produces a result that holds its own against paid studio work, because the physics of soft, directional daylight does not care what it cost you.
What Background Should You Use for Product Photos?
A background exists to disappear, not to compete with the product it is showing off. For most listings, a plain white or soft neutral background is the safest and best-performing choice, because it puts the whole of the buyer's attention on the item and matches what shoppers expect from a professional listing on any marketplace.
That said, a single lifestyle shot earns its place in nearly every listing. A candle photographed on a clean white background tells a buyer what it looks like. A candle photographed lit on a windowsill at dusk tells a buyer what owning it would feel like, and that second kind of image works alongside the plain shot rather than replacing it. Keep the lifestyle setting simple, real props from your own home, natural surfaces like wood or linen, and resist the urge to clutter the frame, because the product still needs to be the obvious subject.
Avoid patterned or brightly coloured backgrounds unless the product is genuinely made to be shown that way, and avoid backgrounds that shift from photo to photo across your shop. A consistent look across your listings functions the same way a consistent visual identity does for any brand, it becomes a recognisable, distinctive asset that a returning buyer learns to spot at a glance, and that consistency is worth protecting the way you would protect any other part of your brand strategy.
How Do You Photograph Different Products, From Jewellery to Art?
Different categories reward different handling, and knowing which one you are dealing with saves you from applying the wrong approach across your whole shop. Small, detailed items such as jewellery or ceramics need close, sharp macro shots that show texture, clasp mechanisms and finish, since these are the details a buyer would check with their hands in a shop. Shoot at least one straight-on close-up and one angled shot that shows scale, ideally with a hand or a familiar object in frame so a buyer can judge the size accurately.
Clothing and textiles need to show drape, so a flat lay on a clean surface works for a first shot, but a shot on a body, a mannequin or even a willing friend, shows how the fabric moves and fits, which a flat photo cannot. Art and prints have their own rules again, framed where relevant, photographed straight-on with no perspective distortion, and shown at least once in a real room setting so a buyer can judge scale and colour against a wall rather than in isolation. Our detailed guide to selling art online goes further into the framing, lighting and listing choices specific to original work and prints.
Category matters even in the data. An analysis of a large online marketplace found that the aesthetic quality of a listing photo correlated with buyer clicks, and that the strength of that effect varied meaningfully by product category, which supports the practical point that handmade and visually led categories, jewellery, art, ceramics, reward the extra ten minutes of care far more than a commodity item does.
How Do You Edit Product Photos Without Losing the Real Thing?
Editing exists to correct what the camera got slightly wrong, not to reinvent the product. Adjust exposure so the item is neither dark nor blown out, correct the white balance so colours match reality, straighten the frame, and crop tightly enough that the product fills most of the image. Most phone photo editors do all of this without a paid app.
Resist the temptation to oversaturate colours or smooth away genuine texture, because a photo that misrepresents the product creates the worst kind of return, the one where the buyer feels misled rather than simply disappointed. Buyers actively factor this in when they weigh up a purchase. In one large consumer survey, 62 percent of shoppers said they were more likely to buy a product if they could first see customer-uploaded photos of it, precisely because those images read as honest in a way that a heavily retouched hero shot does not. Keep your own primary photos accurate enough that your customers' unedited photos, once reviews start coming in, look like a natural match rather than a disappointing contrast.

How Many Photos Does a Listing Need, and What Order Should They Go In?
Most marketplaces let you upload between eight and ten images, and it is worth using most of that allowance, because each photo answers a different question a buyer is silently asking. The order matters as much as the count, since buyers scroll through in sequence and drop off the moment their question goes unanswered.
Open with the single clearest, best-lit shot on a plain background, the one that has to stop a scroll and earn a second look. Follow with two or three angles that show the whole product, then move into close-ups that answer the practical questions, the clasp, the stitching, the base, the label, whatever a buyer would check by hand in a shop. Include one shot with a familiar object or a hand in frame for scale, then close with a lifestyle shot that shows the product in use or in a real setting. That sequence moves a buyer from noticing the item, to trusting its quality, to picturing it in their own life, which is the same journey any sale has to make.
This ordering pays off hardest at the moments buyers are most uncertain. The same Tilburg University research on product imagery found the effect on purchase intent was strongest during busy shopping periods, when the volume of choice on offer raises a buyer's uncertainty and they lean harder on the images available to resolve it. A complete, well-ordered set of photos does more work exactly when competition for attention is at its highest, around a seasonal peak or a sale event.
What Are the Most Common Product Photography Mistakes?
A handful of mistakes turn up in listing after listing, and each one is a quick fix once you know to look for it. Shooting in dim indoor light without a window nearby produces a yellow or grey cast that makes a product look tired before a buyer has read a word about it. Shooting straight down on a product instead of at its own eye level flattens shape and removes the sense of a real object with weight and dimension.
A cluttered or distracting background pulls attention away from the thing being sold, and an inconsistent background from photo to photo across a shop makes the whole storefront look unplanned rather than considered. Skipping a scale reference leaves buyers guessing at size, which is one of the most common reasons for a return. And heavy filters or oversaturation create the trust gap already covered above, a photo that oversells and a product that then underdelivers. None of these mistakes are expensive to fix. They take a little care and a repeatable process, which is the whole point of setting one up once and using it for every new listing after.